


As a seasoned leggings yarn supplier, I've witnessed the ever - evolving trends in the textile industry. One of the most captivating patterns that has gained significant popularity is the honeycomb pattern. In this blog, I'll share my insights on how to create a honeycomb pattern with leggings yarn, along with some tips and tricks I've gathered over the years.
Understanding the Basics of Honeycomb Pattern
The honeycomb pattern is a geometric design that mimics the structure of a beehive. It consists of hexagonal cells that are interconnected, creating a visually appealing and unique texture. When applied to leggings, this pattern not only adds an aesthetic touch but also provides a sense of depth and dimension.
Choosing the Right Leggings Yarn
The first step in creating a honeycomb pattern is selecting the appropriate leggings yarn. At our company, we offer a wide range of high - quality yarns that are perfect for this purpose.
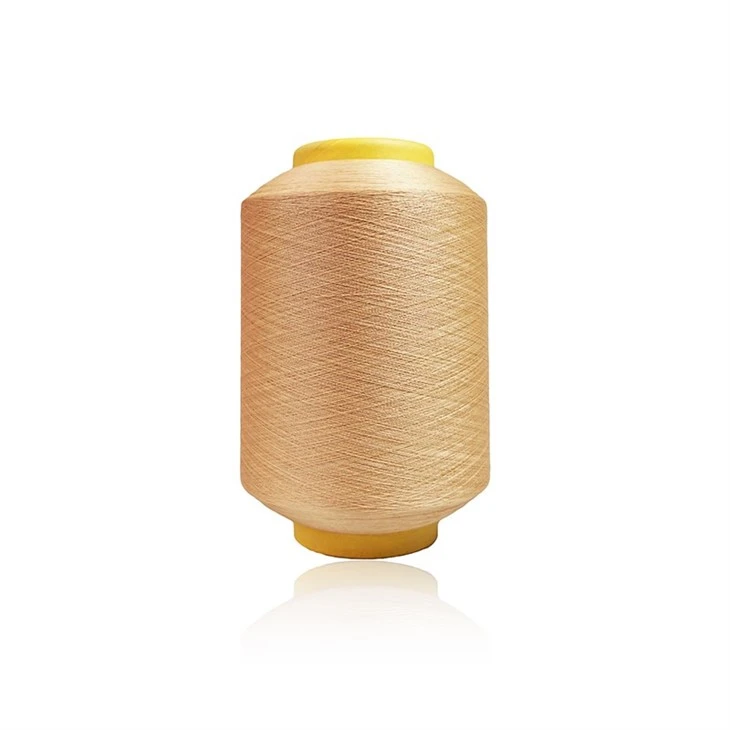
One excellent option is the Polyester Spandex Covered Yarn. This yarn combines the stretchiness of spandex with the durability of polyester. The stretch allows the leggings to conform to the body's movements, while the polyester provides strength and resistance to wear and tear.
Another great choice is the Seamless Single Covered Yarn 2040. This seamless yarn is ideal for creating a smooth and comfortable finish. It ensures that there are no rough edges or seams that could cause irritation to the skin, making it a top - pick for leggings.
For those looking for a thinner option, the Thin Yarn Spandex Covered Nylon Yarn Scy 2030 is a fantastic alternative. The nylon adds a soft and silky feel, while the spandex provides the necessary stretch.
Tools and Equipment
To create a honeycomb pattern, you'll need some basic tools and equipment. A knitting machine is the most common tool used for this purpose. There are different types of knitting machines available, ranging from manual to computer - controlled models. If you're new to knitting, a simple manual machine can be a great starting point. It allows you to have more control over the process and learn the basics of knitting.
You'll also need a set of knitting needles, which come in various sizes. The size of the needles you choose will depend on the thickness of the yarn and the desired tightness of the stitches. Additionally, a measuring tape is essential for ensuring that the leggings are the right size.
Creating the Honeycomb Pattern
- Swatch Testing
Before you start knitting the entire pair of leggings, it's a good idea to create a swatch. This involves knitting a small sample of the honeycomb pattern using the chosen yarn and needles. The swatch will help you determine the gauge, which is the number of stitches and rows per inch. You can adjust the needle size if the gauge is too tight or too loose. - Casting On
Casting on is the process of creating the initial row of stitches. There are several casting - on methods, but the long - tail cast - on is a popular choice for knitting leggings. It creates a stretchy edge that is suitable for the waistband of the leggings. - Knitting the Honeycomb Pattern
The honeycomb pattern is typically created using a combination of knit and purl stitches. The basic honeycomb pattern consists of a series of hexagonal shapes. To create these shapes, you'll need to alternate between knit and purl stitches in a specific pattern.- Row 1: Knit all stitches.
- Row 2: Purl all stitches.
- Row 3: Knit 2, purl 2 repeat across the row.
- Row 4: Purl 2, knit 2 repeat across the row.
- Repeat these four rows to create the honeycomb pattern.
- Shaping the Leggings
As you knit, you'll need to shape the leggings to fit the body. This involves decreasing stitches at the ankles and increasing stitches at the thighs. Decreasing stitches is done by knitting two stitches together, while increasing stitches can be done by making a new stitch between two existing stitches. - Finishing Touches
Once you've knitted the leggings to the desired length, you'll need to finish the edges. You can use a kitchener stitch to sew the seams together. This creates a seamless and invisible join. Finally, you can add a waistband by knitting a few rows of ribbing and attaching it to the top of the leggings.
Tips and Tricks
- Color Combinations: Experiment with different color combinations to make the honeycomb pattern stand out. You can use two or more colors of yarn to create a more vibrant and eye - catching design.
- Tension Control: Maintaining even tension is crucial for a uniform honeycomb pattern. Try to keep the stitches at the same tightness throughout the knitting process.
- Practice Makes Perfect: Creating a honeycomb pattern takes time and practice. Don't be discouraged if your first attempt doesn't turn out perfectly. Keep practicing, and you'll improve your skills over time.
Quality Assurance
As a leggings yarn supplier, we understand the importance of quality. Our yarns undergo strict quality control measures to ensure that they meet the highest standards. We test the yarns for strength, stretch, colorfastness, and other important properties. This ensures that the leggings you create using our yarns will be durable, comfortable, and long - lasting.
Conclusion
Creating a honeycomb pattern with leggings yarn is a rewarding and creative process. With the right yarn, tools, and techniques, you can produce a pair of unique and stylish leggings. Whether you're a beginner or an experienced knitter, I hope this blog has provided you with valuable insights and inspiration.
If you're interested in purchasing high - quality leggings yarn for your projects, we'd love to hear from you. We offer a wide range of yarns that are suitable for creating honeycomb patterns and other designs. Contact us to discuss your requirements and start your next knitting adventure.

References
- Knitting for Beginners, Jane Smith, 2018
- The Art of Textile Design, John Doe, 2020
- Yarn Handbook, Sarah Johnson, 2019


